If you are looking for a recipe without onion and garlic, there are plenty of ways to build flavour with other ingredients. Roasted vegetables, fresh ginger, herbs, lemon juice and individual spices can each bring something different to a dish.
This collection includes roasted red pepper hummus, tomato pasta with olives and capers, and a ginger and coconut vegetable curry. Each recipe provides measured ingredients, clear steps and practical tips to help you adjust the texture and seasoning.
The aim is to make cooking approachable, whether you are changing a familiar meal or trying a new combination. You do not need a cupboard full of specialist substitutes—just a few ingredients chosen for the flavour they contribute.
What These Recipes Leave Out
The recipes below contain no added onion or garlic, including their powdered or dried forms. They also avoid shallots, leeks, spring onions and chives, so those ingredients do not become replacements.
Check packaged ingredients carefully. Stock, curry paste, spice blends, jarred vegetables and prepared sauces may contain onion or garlic even when neither appears separately in your shopping list. Where possible, these recipes use plain ingredients and individually measured spices.
Choosing a recipe without onion and garlic does not automatically make it low FODMAP or suitable for every allergy, medical condition or religious dietary requirement. If you follow a specific diet, check the full ingredient list, portion sizes and relevant product information against your needs.
Building Flavour Step by Step
Roasting peppers brings out their sweetness, while lemon juice adds brightness to hummus. Olives and capers give tomato sauce a savoury, tangy finish. In the curry, ginger and gently heated spices provide an aromatic base.
Taste as you cook, following the instructions for each dish, and adjust the final seasoning gradually. A little extra lemon or a handful of fresh herbs may be all you need to bring the flavours together.
1. Roasted Red Pepper Hummus Without Garlic
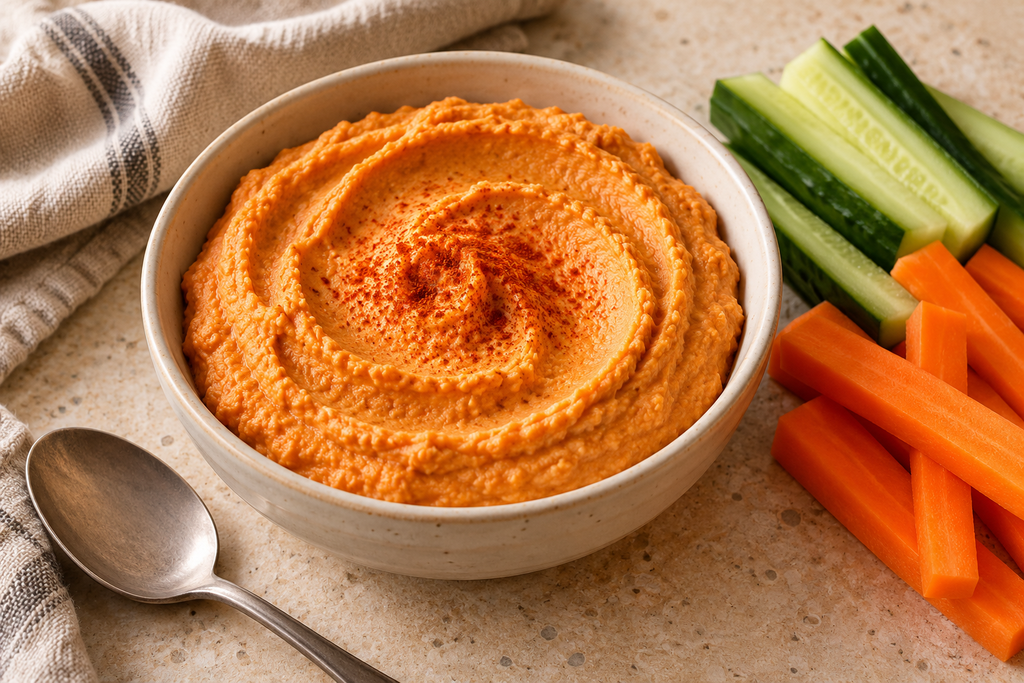
Roasted red pepper adds sweetness and colour to this garlic-free hummus, while tahini, lemon juice and cumin provide a savoury balance. Using canned chickpeas keeps the preparation manageable, and adding water gradually lets you choose a thick dip or a softer spread.
This recipe without onion and garlic works as a snack with vegetable sticks, a sandwich filling or an addition to a larger meal.
Servings: approximately 6 as a dip
Preparation time: approximately 15 minutes
Cooking required: none when using ready-roasted peppers
Estimated yield: approximately 450–500 g
Ingredients
- 1 × 400 g can chickpeas, drained and rinsed, approximately 240 g drained weight
- 150 g roasted red peppers, drained weight
- 40 g plain tahini
- 2 tablespoons lemon juice, 30 ml
- 1 tablespoon plain olive oil, 15 ml
- ½ teaspoon ground cumin
- ¼ teaspoon fine salt, or less to taste
- 1–3 tablespoons cold water, added as needed
- A small pinch of sweet paprika, optional, for serving
Check that the roasted peppers contain no onion, garlic or added seasoning containing either. Choose plain tahini and individual spices rather than prepared hummus seasoning. Avoid garlic-infused oil.
Tahini contains sesame. If preparing this for someone with an allergy, check all ingredients and relevant cross-contact information.
Instructions
1. Drain the chickpeas and peppers.
Rinse the canned chickpeas under running water and drain thoroughly.
Drain the roasted peppers separately, then gently pat away excess liquid. Weigh 150 g after draining. Wet peppers can make the hummus thinner than intended.
If your peppers are packed in vinegar, taste a small piece first. Start with 1 tablespoon lemon juice instead of two, then adjust after blending.
2. Blend the tahini and lemon.
Place the tahini and lemon juice in a food processor. Process for approximately 30 seconds, then scrape down the sides.
The mixture may thicken initially; the peppers and water will loosen it later.
3. Add the remaining ingredients.
Add the chickpeas, roasted peppers, olive oil, cumin and salt.
Process for 1–2 minutes, stopping to scrape down the bowl as needed. Continue until the mixture is as smooth as your machine allows.
Never put a spoon or spatula into the processor while the blade is moving.
4. Adjust the texture gradually.
Add cold water one tablespoon at a time, blending between additions.
For a dip, aim for a texture that holds a soft mound on a spoon. For spreading inside a sandwich, you may prefer it slightly looser. You may not need all the water.
5. Taste and finish.
Taste before adding more salt or lemon juice. Jarred peppers and canned chickpeas vary in seasoning, so small adjustments are more useful than automatically adding extra.
Spoon into a serving bowl and finish with the optional paprika. Serve immediately or cover and refrigerate.
If You Prefer to Roast a Fresh Pepper
Use one large red bell pepper, or enough to provide 150 g roasted, peeled flesh.
Halve and deseed it, then place cut-side down on a lined baking tray. Roast at 220°C conventional / 200°C fan / 425°F for approximately 25–35 minutes, until the flesh is soft and the skin has blistered and darkened in patches.
Transfer to a heatproof bowl and cover for approximately 10 minutes. When cool enough to handle, peel away the loosened skin. Let the flesh cool, drain excess juices and weigh before using.
This adds approximately 40–50 minutes to the preparation, including roasting and cooling.
Tips for a Better Texture
Too thick? Blend in another teaspoon or two of cold water.
Too thin? Avoid adding further liquid. Chilling may firm it slightly, but it will not correct a very watery mixture. Well-drained ingredients are the best starting point.
Still slightly grainy? Scrape down the bowl and blend again. Chickpea skins and the power of your processor affect the finish; a little texture is perfectly acceptable.
Serving and Storage
Serve with cucumber, carrot sticks or plain bread. Check prepared crackers, pita chips and wraps for onion or garlic seasoning before serving them alongside.
Refrigerate promptly in a clean, covered container at 4°C / 40°F or below and use within 3–4 days, or sooner if an ingredient’s after-opening instructions require it.
Do not leave the hummus unrefrigerated for more than 2 hours, or 1 hour when the surrounding temperature exceeds 32°C / 90°F. For gatherings, put out a small portion and keep the remainder chilled.
For general handling guidance, see the USDA’s advice on leftovers and food safety.
Recipe development note: This recipe was developed with AI assistance and has not been independently kitchen-tested for this article. Preparation time and yield are estimates.
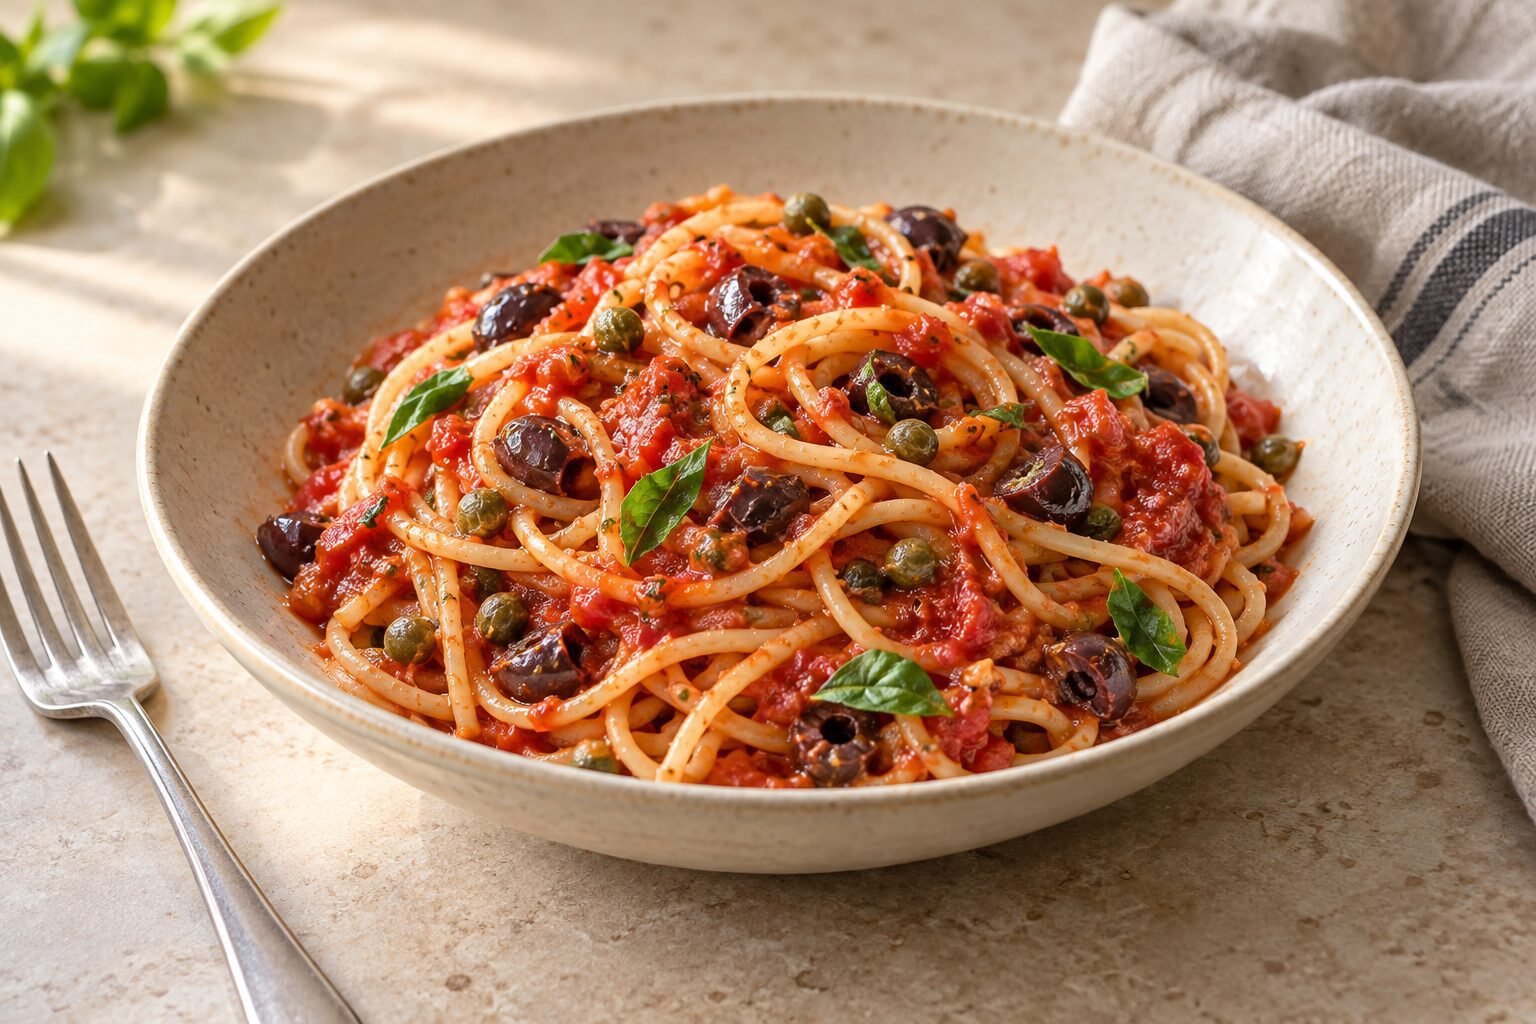
2. Tomato, Olive and Caper Pasta Without Onion or Garlic
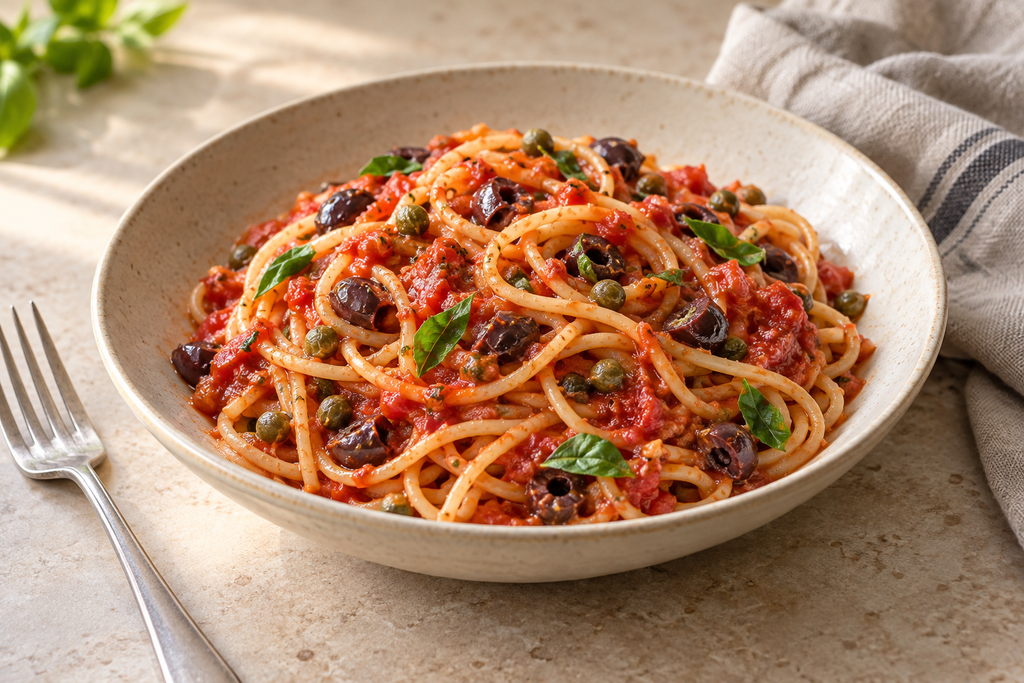
Olives, capers and basil give this tomato pasta plenty of flavour without an onion or garlic base. A short simmer thickens the sauce, while a splash of pasta cooking water helps it coat the spaghetti.
Anchovies are optional. They add a savoury note when gently dissolved in the oil, but the sauce also works without them.
Servings: 2
Preparation time: approximately 10 minutes
Cooking time: approximately 20 minutes
Ingredients
- 180 g dried spaghetti
- 1 tablespoon plain olive oil, 15 ml
- 1 × 400 g can chopped tomatoes, unseasoned
- 50 g pitted olives, drained and roughly chopped
- 1 tablespoon capers, approximately 15 g, drained and rinsed
- 2 anchovy fillets in oil, drained, optional
- ½ teaspoon dried oregano
- A small handful of fresh basil, approximately 5 g, torn
- Black pepper, to taste
- Salt, for the pasta water and only if needed in the sauce
- Up to 100 ml reserved pasta cooking water
Check the tomatoes, olives, capers and optional anchovies for added onion, garlic or flavoured marinades. Use plain olive oil rather than an infused version.
Omit the anchovies for a vegetarian or vegan version, and check that your pasta meets your dietary requirements.
Instructions
1. Start the pasta water.
Bring a large saucepan of water to the boil. Salt it lightly: the olives, capers and optional anchovies will already contribute salt to the meal.
Prepare the sauce while the water heats.
2. Warm the oil and optional anchovies.
Heat the olive oil in a wide frying pan over a low heat.
If using anchovies, add them and stir for 1–2 minutes, gently breaking them apart with a spoon until they largely dissolve into the oil.
If omitting them, simply warm the oil before adding the tomatoes. Do not leave the empty oil heating for several minutes.
3. Simmer the tomato sauce.
Carefully add the chopped tomatoes and oregano. Stir, bring to a gentle simmer and cook uncovered for approximately 10 minutes, stirring occasionally.
The sauce should begin to thicken. Keep the heat moderate so it bubbles gently rather than splashing vigorously.
4. Add the olives and capers.
Stir in the chopped olives and rinsed capers. Continue simmering for 5–8 minutes, until the sauce has thickened enough to coat the pasta.
If it becomes too thick before the pasta is ready, add a tablespoon of water.
5. Cook the spaghetti.
Meanwhile, cook the spaghetti according to the packet instructions until just tender with a little firmness remaining.
Before draining, reserve a mug of the cooking water. Drain the spaghetti without rinsing it.
6. Toss together.
Add the drained spaghetti to the sauce. Toss gently over a low heat for approximately 1 minute.
Add the reserved pasta water one tablespoon at a time if needed. Stop when the sauce coats the strands easily without leaving a watery pool beneath them.
7. Finish and serve.
Remove from the heat and fold in the torn basil. Taste a cooled bite before adding black pepper or extra salt.
Divide between two bowls and serve promptly.
Getting the Flavour and Texture Right
Too salty? Rinsing the capers and choosing less salty olives can help prevent this. Avoid adding salt to the sauce before tasting the finished mixture. If it is already too salty, additional unsalted tomatoes can dilute the seasoning, though they will increase the quantity and need time to simmer.
Too sharp? Let the tomatoes simmer a little longer, adding a splash of water if necessary to prevent sticking. If the flavour still seems too acidic for your preference, stir in a small pinch of sugar and taste again.
Too watery? Reduce the sauce before adding the pasta. Prolonged cooking after combining can make the spaghetti overly soft.
Prefer another pasta shape? Use the same dry weight of penne or fusilli and follow its packet cooking time.
Preparing Ahead and Storing
You can prepare the sauce ahead and cook the pasta just before serving. Keeping them separate helps preserve the pasta’s texture.
Refrigerate leftovers in shallow, covered containers within 2 hours, or within 1 hour if the surrounding temperature exceeds 32°C / 90°F. Keep at 4°C / 40°F or below and use within 3–4 days, or sooner if an ingredient’s after-opening instructions require it.
Reheat the portion you need, stirring or tossing with a small splash of water, until it reaches 74°C / 165°F throughout.
For general handling guidance, see the USDA’s advice on leftovers and food safety.
Recipe development note: This recipe was developed with AI assistance and has not been independently kitchen-tested for this article. Cooking times and serving sizes are estimates.
3. Ginger and Coconut Vegetable Curry
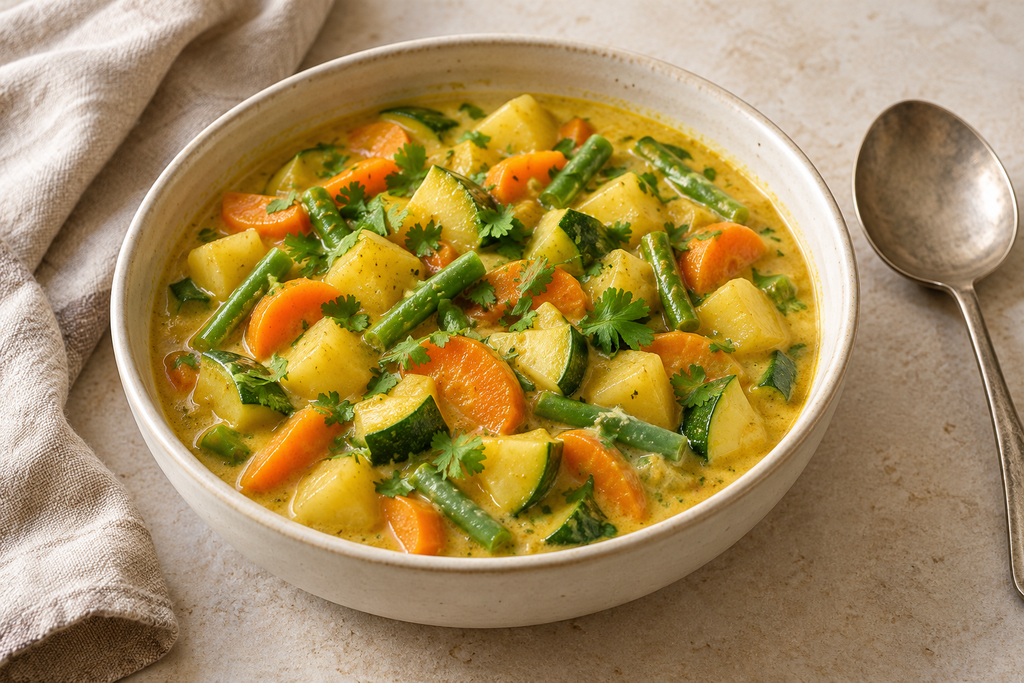
Fresh ginger, cumin, coriander and turmeric give this vegetable curry an aromatic base without onion, garlic or ready-made curry paste. Coconut milk brings the sauce together, while a little lime juice adds brightness at the end.
The vegetables go into the pan in stages so the potatoes have time to soften before the courgette is added.
Servings: 4
Preparation time: approximately 15 minutes
Cooking time: approximately 30 minutes
Ingredients
- 1 tablespoon plain vegetable oil, 15 ml
- 15 g fresh ginger, peeled and finely grated
- 1 teaspoon ground cumin
- 1 teaspoon ground coriander
- ½ teaspoon ground turmeric
- ⅛ teaspoon chilli flakes, optional
- 350 g potatoes, peeled and cut into 1.5 cm cubes
- 200 g carrots, peeled and cut into thin half-moons
- 150 g green beans, trimmed and cut into short lengths
- 200 g courgette, cut into 2 cm pieces
- 1 × 400 ml can unsweetened full-fat coconut milk
- 200 ml water, plus more if needed
- ½ teaspoon fine salt, or to taste
- 1 tablespoon lime juice, plus more to taste
- 2 tablespoons chopped fresh coriander, optional
Vegetable weights are measured after trimming and peeling.
Use plain coconut milk and individual spices. Check their ingredient lists for added onion or garlic. Water is used instead of stock to keep the ingredient list straightforward.
Instructions
1. Prepare the coconut milk.
Stir or whisk the coconut milk until the thick cream and thinner liquid are combined. Separation in the can can be normal; follow the product’s storage instructions and check that it is within its recommended use period.
Set aside while you prepare the spice base.
2. Gently cook the ginger.
Heat the oil in a wide, deep saucepan over a medium-low heat. Add the grated ginger and cook for approximately 30–60 seconds, stirring continuously.
It should become fragrant without turning dark brown.
3. Add the spices.
Stir in the cumin, coriander, turmeric and optional chilli flakes. Cook for approximately 20–30 seconds, stirring.
Immediately add a small splash of the measured water if the spices begin sticking. Avoid scorching them, which can make the sauce bitter.
4. Start the firmer vegetables.
Add the potatoes and carrots, stirring to coat them in the spices.
Pour in the coconut milk and the remaining measured water. Add the salt and bring to a gentle simmer.
Partially cover and cook for approximately 12–15 minutes, stirring occasionally. The potatoes should begin to soften but still offer some resistance when pierced.
5. Add the remaining vegetables.
Stir in the green beans and simmer for 4 minutes. Add the courgette and continue cooking for another 6–8 minutes, or until all the vegetables are tender.
Check a larger potato cube before proceeding: a fork should pass easily through its centre. If necessary, simmer a little longer, adding water in small splashes if the sauce becomes too thick.
6. Adjust the sauce.
If the sauce is thinner than you prefer, simmer uncovered for a few minutes. Stir gently so the cooked vegetables do not break apart.
If it is too thick, add water one tablespoon at a time. Aim for a sauce that coats the vegetables while remaining easy to spoon.
7. Finish with lime.
Remove from the heat and stir in the lime juice and optional fresh coriander.
Taste a cooled spoonful before adding more lime or salt. Serve warm.
Tips and Serving Ideas
Keep the simmer gentle. A vigorous boil can break up the vegetables and encourage the coconut sauce to separate.
Cut the potatoes evenly. Small, consistent cubes help them cook within the suggested time.
Choose your level of heat. Omit the chilli flakes for a milder version. The ginger and other spices still provide flavour.
Serve with freshly cooked rice or plain flatbread, checking packaged bread for onion or garlic ingredients. The serving estimate above is for the curry itself; accompaniments are additional.
Storing and Reheating
Refrigerate leftover curry in shallow, covered containers within 2 hours, or within 1 hour if the surrounding temperature exceeds 32°C / 90°F. Keep at 4°C / 40°F or below and use within 3–4 days.
Reheat the portion you need in a saucepan, stirring gently, until it reaches 74°C / 165°F throughout. Add a little water if the sauce has thickened.
The coconut sauce may separate slightly during storage; gentle stirring as it warms can help bring it together. Store any rice separately and follow appropriate cooked-rice storage guidance.
For general handling advice, see the USDA’s guidance on leftovers and food safety.
Recipe development note: This recipe was developed with AI assistance and has not been independently kitchen-tested for this article. Cooking times and serving sizes are estimates. This recipe is not presented as a tested low-FODMAP dish.
Finding Your Own Favourite Recipe Without Onion and Garlic
I’m still building confidence in the kitchen, and I appreciate meals that explain the small steps clearly. Finding a recipe without onion and garlic can be an opportunity to notice what other ingredients contribute: the sweetness of roasted pepper, the tang of capers or the warmth of fresh ginger.
These three dishes offer different places to begin. You might prefer blending a dip, tossing pasta with a simple sauce or letting vegetables simmer gently in coconut milk. Choose whichever feels manageable, and give yourself time to prepare the ingredients before you start.
For me, a useful recipe without onion and garlic should make the cooking feel approachable. Taste as you go, adjust the consistency gradually and remember that your finished dish does not need to look perfectly styled. A slightly chunky hummus or an unevenly cut carrot still belongs at the table.
If you avoid ingredients for a medical, allergy-related or religious reason, check every product against your own requirements. These recipes are not presented as tested low-FODMAP meals or as suitable for every dietary restriction. Packaged ingredients and individual needs can differ.
The recipes were developed with AI assistance and have not been independently kitchen-tested; timings and yields are estimates. The images are AI-generated illustrations, so your results may look different. I hope these ideas give you a welcoming starting point—and a meal you enjoy making at your own pace.