
I’ve whipped up 18 adorable Valentine’s Day sugar cookies that are sure to impress! With a simple base of flour, butter, sugar, and eggs, you can create cookies that hold their shape and are perfect for decorating. I love using food coloring for a festive flair and topping them with royal icing or sprinkles to make them even sweeter. Chilling the dough makes cutting shapes a breeze, too. Baking is a piece of cake; just keep an eye on that golden base. Want tips on decorating and presenting these treats? Stick around for all the details!
1. Essential Ingredients for Cookies
When baking Valentine’s Day sugar cookies, gathering the essential ingredients is key to achieving that perfect texture and flavor.
I use 2½ to 3 cups of all-purpose flour, 1 cup of softened unsalted butter, and granulated sugar for sweetness.
Don’t forget one large egg, vanilla extract, and a pinch of salt.
Optional spices like cinnamon add a lovely warmth for the occasion! Additionally, using fine sea salt can help balance the sweetness effectively.
2. Preparing Sugar Cookie Dough
Preparing sugar cookie dough is an exciting step that sets the stage for delicious cookies. I start by mixing flour, baking powder, and salt in a separate bowl, ensuring even distribution. Sifting helps prevent clumping, making for a uniform mix. Once that’s done, I combine the dry ingredients with the wet ingredients, mixing gently to avoid overdeveloping the gluten. It’s important to remember that sugar cookie dough maintains its shape during baking, allowing for beautifully decorated treats.
3. Creaming Butter and Sugar
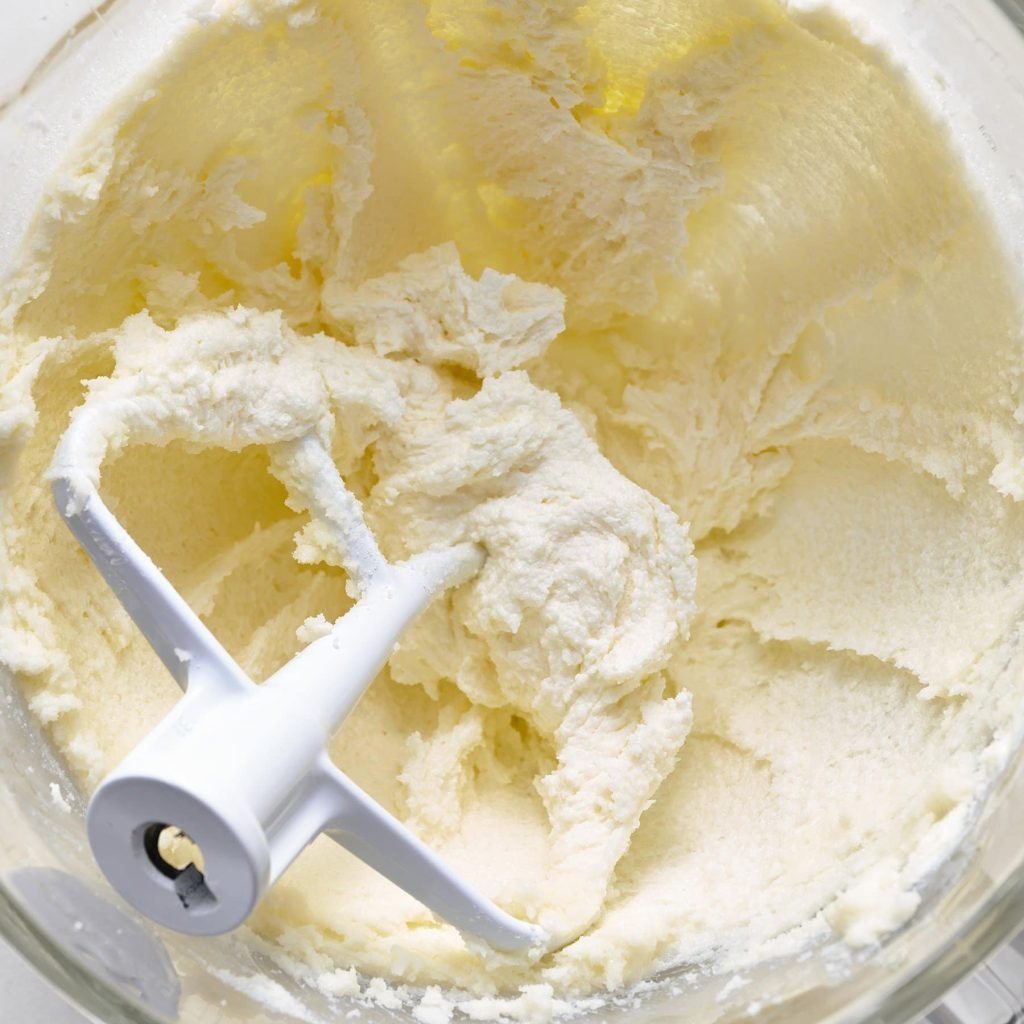
Creaming butter and sugar is a crucial step that transforms the texture of your sugar cookies. It introduces air, making the cookies lighter and fluffier. This process is essential for achieving the desired consistency in your baked goods. I always use room-temperature butter, as this helps incorporate sugar evenly. Mixing on medium speed for about 2-5 minutes, I watch for a pale mixture with increased volume—this indicates it’s ready for the next steps!
4. Adding Eggs to Dough
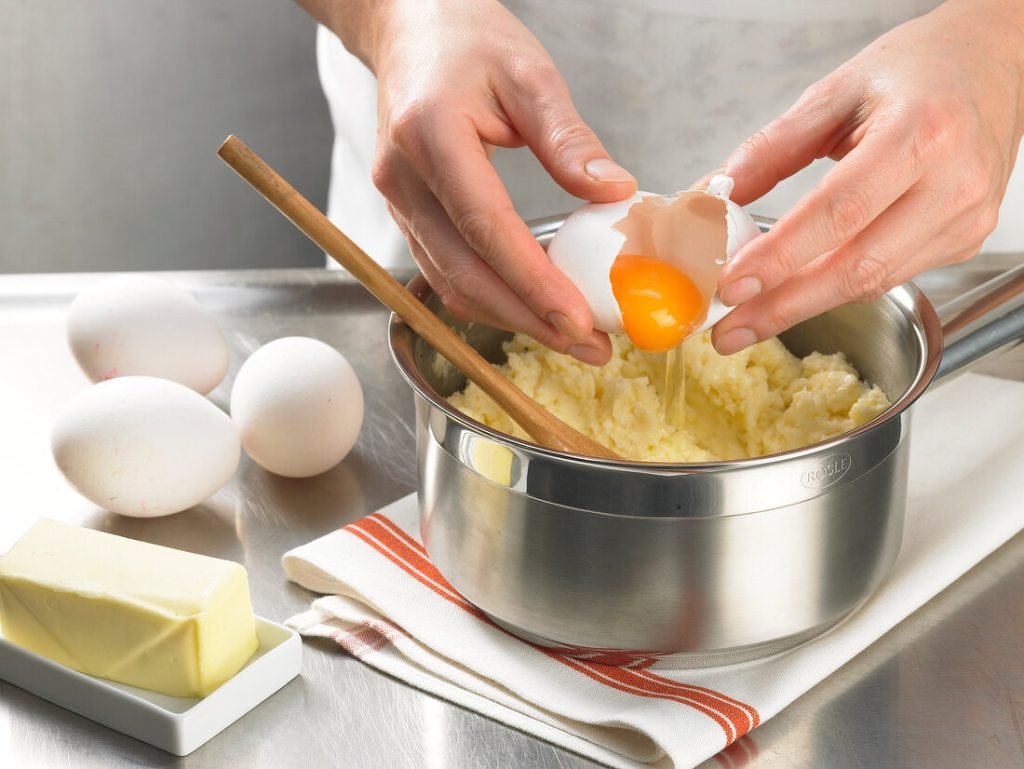
Adding eggs to the dough is a pivotal moment that brings everything together.
They provide moisture, contributing to steam during baking, which affects the texture. The lecithin in yolks helps emulsify ingredients, making the dough softer. Plus, egg whites trap air, creating a light, chewy cookie. The balance of yolks and whites ultimately shapes the final cookie’s character and flavor. Eggs provide essential components that are crucial for achieving the desired structure and texture in cookies.
5. Mixing in Liquids and Spices
When it comes to mixing in liquids and spices, I find that the order and technique can really elevate the flavor of your sugar cookies. I always add 2 teaspoons of vanilla extract or vanilla bean paste, and if I’m feeling adventurous, a bit of almond extract too. Don’t forget that pinch of salt; it balances the sweetness perfectly! Using the right ingredients is essential for achieving that perfect cookie dough consistency.
6. Gradually Adding Flour
After mixing in the liquids and spices, the next step is to incorporate the flour carefully.
I add the flour in 4-5 parts, mixing slowly at first to ensure even distribution. Each addition should be fully blended before the next.
I look for the dough to pull away from the bowl, achieving a firm, Play-Doh-like texture without any dry patches. This approach is crucial for achieving sharp, defined edges in your cookies.
7. Chilling the Cookie Dough
Chilling the cookie dough is a crucial step in ensuring your Valentine’s Day sugar cookies turn out perfectly shaped and delicious. It prevents excessive spreading, helping maintain that lovely shape, and enhances the flavors as the ingredients meld together. I recommend chilling the rolled-out dough for at least two hours, allowing for crisp edges and a chewy texture that’s simply irresistible. This process also enhances cookie quality by solidifying fats, which reduces spread during baking.
8. Flour the Rolling Surface
It’s essential to prepare the rolling surface properly to ensure your dough doesn’t stick while you roll it out.
I like to tape parchment paper to the countertop and sprinkle about a tablespoon of flour over it. Alternatively, you can flour a clean countertop directly. Just make sure the surface is evenly coated to maintain the dough’s consistency. Using a rolling pin with thickness guides can help achieve the optimal dough thickness for your sugar cookies.
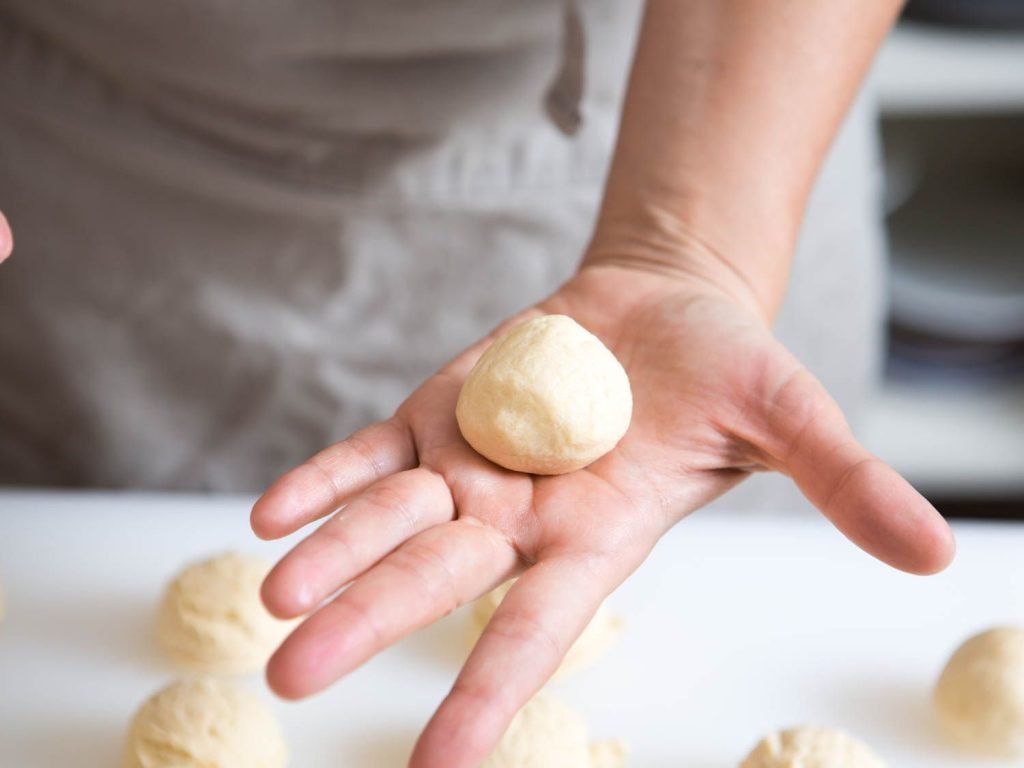
9. Rolling Out the Dough
How do you achieve perfectly rolled-out dough for your Valentine’s Day sugar cookies?
Start by dividing your chilled dough into smaller portions and forming each into a flat disc. Place the dough between two pieces of parchment paper, then roll from the center outward, rotating it regularly. Aim for a thickness of 1/4 to 1/2 inch, ensuring it’s even and crack-free. Chilling dough before rolling is essential to prevent over-spreading during baking.
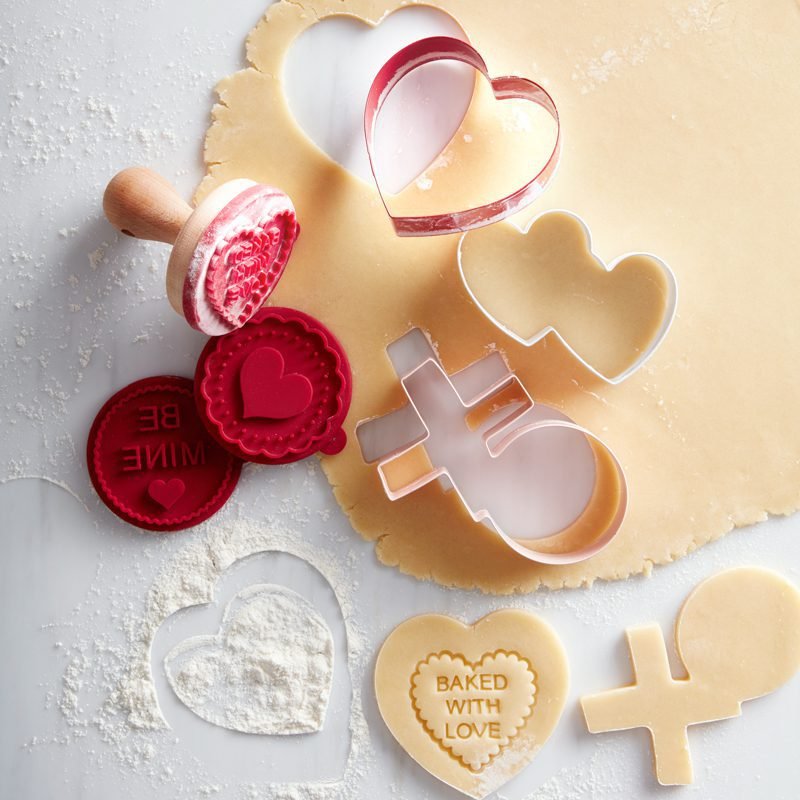
10. Using Cookie Cutters
Using cookie cutters is a delightful way to shape your Valentine’s Day sugar cookies into charming designs. I recommend using heart-shaped cutters or fun X&O shapes for a festive touch. Make sure to grease the cutters lightly for easy release. Chilling the dough before cutting helps maintain shapes, and don’t forget to re-roll scraps to create even more cookies! Chilling dough for 1 hour helps ensure your cookies hold their shape while baking.
11. Transfer to Baking Sheets
After preparing your cookie dough, the next step is to transfer it to baking sheets for the oven.
Make sure to preheat the oven and line the sheets with parchment paper.
I space the cookies about an inch apart, using a cookie scoop for even portions.
Before baking, I double-check the spacing and add any decorations I want on top. These cookies are perfect for gifting during Valentine’s Day celebrations.
12. Re-rolling Excess Dough
Re-rolling excess dough is a straightforward process that helps minimize waste while still ensuring delicious cookies.
I collect the scraps and dust off any excess flour to avoid toughening the dough. I press the scraps into a ball and chill them if they’re too warm.
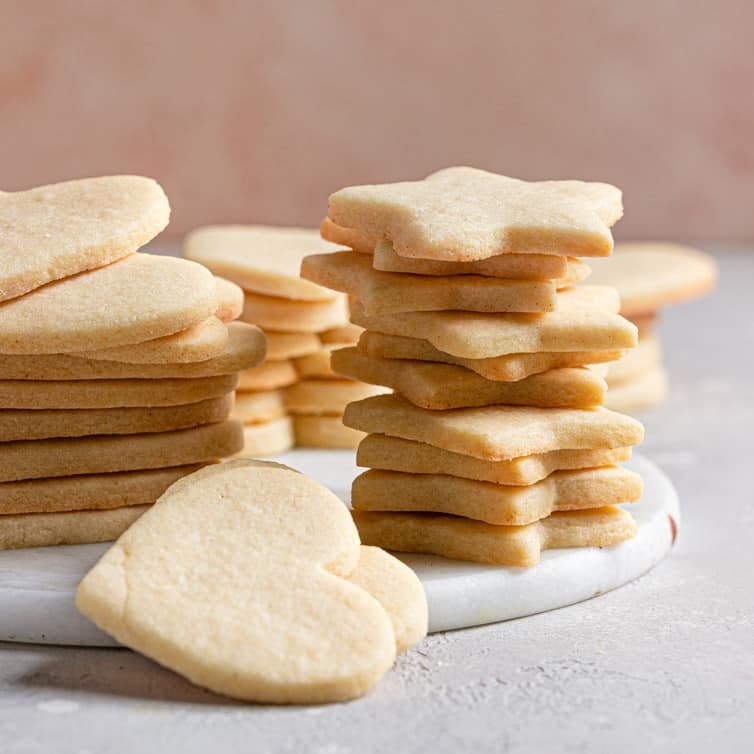
13. Baking the Sugar Cookies
Once I’ve gathered the re-rolled dough and cut out my cookie shapes, it’s time to bake these delightful sugar cookies.
I preheat the oven to 350°F and line my baking sheets with parchment paper.
Then, I bake the cookies one tray at a time for 8-10 minutes, checking for a golden base.
I avoid overbaking to keep that perfect texture!
14. Cooling the Cookies
With the cookies just out of the oven, the next crucial step is cooling them properly to achieve that perfect texture.
I always use a metal rack for cooling, as it allows air to circulate and moisture to escape, ensuring my cookies stay crunchy.
Remember, it’s essential to let them cool completely before packaging to avoid any sogginess.
Enjoy your delightful creations!
15. Making the Frosting
After letting the cookies cool completely, it’s time to make the frosting that will take them to the next level.
I cream together softened butter and powdered sugar until smooth, then add vanilla extract.
If it’s too thick, I adjust the consistency with a splash of cream.
Finally, I beat the mixture until fluffy and add food coloring for a festive touch!

16. Decorating With Sprinkles
How can you elevate your Valentine’s Day sugar cookies to a whole new level?
Start by brushing cooled cookies with light corn syrup or an egg wash.
Then, dip them into sprinkles for a delightful finish.
I love using a variety of colors that scream Valentine’s Day.
Just remember to shake off the excess sprinkles for a polished look!
17. Using Royal Icing
The magic of royal icing can transform your Valentine’s Day sugar cookies into stunning masterpieces.
To create it, mix 16 ounces of powdered sugar with ¼ cup plus 1 tablespoon of meringue powder and ⅓ cup of water. Beat until peaks form, adjusting with more water if needed.
Use the 10-second rule for perfect consistency, and don’t forget to tint your icing for added flair!

18. Adding Piped Borders
Piped borders can elevate your Valentine’s Day sugar cookies, adding a professional touch that’s both charming and inviting.
Start by choosing a smooth buttercream frosting, and ensure it’s the right consistency.
Use a piping bag with a round tip to outline your cookies, then fill them in with a zigzag motion.
Add decorative elements like hearts or sprinkles for that extra flair!